Flowers
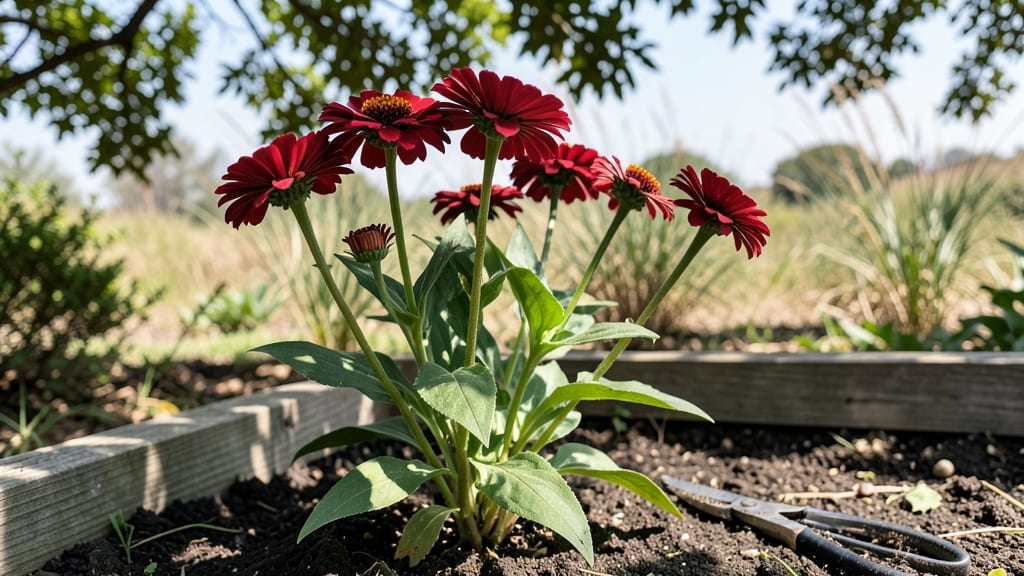
Annuals are the secret weapon for flower beds that look stunning from May until frost. 🌸 I’ve designed beds where sunflowers tower over petunias, and zinnias bloom in every shade imaginable—all while requiring less work than perennials.
The key is pairing fast-blooming varieties with those that stretch the season, so you never have a gap in color.
Start with a color palette—think jewel tones like burgundy and cobalt, or bright contrasts like yellow and purple. Mix tall plants (like snapdragons) at the back with mounding types (like geraniums) in front, and fill gaps with trailing annuals like lobelia.
Most annuals thrive in full sun, but a few like impatiens prefer shade, so check tags before planting.
By mid-summer, your bed will be a riot of blooms, with flowers opening in waves instead of all at once. The trick is deadheading spent blooms and watering deeply twice a week—no fancy fertilizers needed.
Even in heatwaves, the right annuals keep looking fresh, proving that low-maintenance doesn’t mean low-impact.
This approach works for containers, borders, or large garden beds—just adjust spacing based on your design. Let’s turn your flower bed into the neighborhood’s showstopper without the fuss of perennials.
📚 In This Guide
- What you need
- Instructions
- Tips and common mistakes
- Wrapping up and next steps
What you need
- ● Flower bed annuals: Choose 3–5 varieties (e.g., petunias, zinnias, marigolds, impatiens, or cosmos) for a mix of colors and heights. Aim for at least 10–15 plants per square foot for full coverage.
- ● High-quality potting soil: 2–3 bags (1–2 cubic feet each) of well-draining, organic soil (mix in compost for extra nutrients).
- ● Mulch: 1–2 bags of organic mulch (e.g., shredded bark or straw) to retain moisture and suppress weeds.
- ● Fertilizer: Slow-release granular fertilizer (10-10-10 ratio) or liquid bloom booster for annuals.
- ● Garden tools: Trowel or hand shovel
- ● Garden fork (for aerating soil)
- ● Pruners (for trimming dead blooms)
- ● Watering can or hose with a gentle spray nozzle
- ○ Stakes or supports: (Optional but helpful) Bamboo stakes or tomato cages for taller annuals like sunflowers or snapdragons.
- ● Slow-release plant food spikes: For hands-off nutrition.
- ● Garden gloves: To keep your hands clean and protected.
- ● Decorative borders: Stones, bricks, or metal edging to define your flower bed.
- ● Drip irrigation system: For automated watering (perfect for busy gardeners!).
How to design a stunning flower bed with annuals
Here’s my go-to approach for creating vibrant, long-lasting annual displays that keep blooming until frost.
🌱 Step 1: Plan Your Layout for Season-Long Color
Start by sketching your flower bed layout, grouping plants by height and bloom time. Taller varieties like salvia or celosia go in the back, while shorter pansies or sweet alyssum fill the front. I like to stagger bloom cycles—plant early bloomers like petunias alongside late-season stars like zinnia to ensure continuous color.
Consider your light conditions next. Full-sun annuals like marigolds or geraniums need 6+ hours of direct light, while shade-tolerant impatiens or begonias thrive in 4+ hours of filtered light. Mark your bed’s sun exposure and choose plants accordingly—mixing sun and shade lovers creates a balanced, resilient design.
🪴 Step 2: Prepare the Soil for Healthy Growth
Remove existing weeds and loosen the soil to a depth of 6-8 inches using a garden fork. Work in 2-3 inches of compost or aged manure to enrich the soil—annuals are heavy feeders and need nutrient-rich ground to support their rapid growth. If your soil is heavy clay or sandy, mix in 1 part peat moss or coconut coir to improve drainage and moisture retention.
For containers or raised beds, blend equal parts potting mix, perlite, and compost to create a light, airy medium. Annuals in pots dry out faster, so add a slow-release fertilizer at planting to sustain them through the season. Test your soil’s pH—most annuals prefer a neutral to slightly acidic range (6.0-7.0).
☀️ Step 3: Plant with Proper Spacing for Airflow
Follow each plant’s spacing guidelines—crowding invites disease and weakens growth. For example, petunias need 12 inches apart, while sweet alyssum can be planted 6 inches apart. Dig holes twice as wide as the root ball to encourage roots to spread outward. Gently loosen roots if they’re circling in the pot before placing them in the hole.
Water each plant deeply after planting to settle the soil and remove air pockets. Mulch with 2-3 inches of shredded bark or straw to retain moisture, suppress weeds, and regulate soil temperature. Avoid piling mulch against stems—keep it 1-2 inches away to prevent rot.
💧 Step 4: Water and Feed for Continuous Blooms
Water deeply 2-3 times per week, aiming for 1 inch of water per week—more in extreme heat. Early morning is best to reduce evaporation and fungal risks. Check soil moisture by sticking your finger 1 inch deep; if it feels dry, it’s time to water. Drip irrigation or soaker hoses deliver moisture directly to roots, minimizing leaf wetness and disease.
Feed every 4-6 weeks with a balanced liquid fertilizer (10-10-10 or 20-20-20) to encourage lush foliage and abundant blooms. Deadhead spent flowers regularly—pinching off faded blooms redirects energy to new growth. For containers, use half-strength fertilizer weekly to prevent salt buildup.
✂️ Step 5: Maintain and Extend the Season
Monitor for pests like aphids or slugs—remove them by hand or treat with neem oil or soapy water early in the season. Prune leggy stems to encourage bushier growth, and rotate containers occasionally so plants grow evenly toward the light. In late summer, replace fading annuals with cool-season varieties like mums or pansies for a seamless transition.
As temperatures drop, protect tender annuals with frost cloth or move containers indoors. Harvest seeds from favorite varieties to save for next year—label them clearly and store in a cool, dry place. With these steps, your flower bed will stay vibrant until the first hard frost.
Tips & tricks for perfect flower bed annuals
Creating a vibrant flower bed that thrives all season takes more than just planting pretty flowers—it’s about smart planning and maintenance that keeps them looking their best. Here are my go-to tricks for annuals that stay bold and healthy from spring until frost.
Season-Long Color Strategy: In Step 1, when you're planning your layout, think beyond just height—consider bloom times too. I always include at least three different bloom cycles: early (like pansies), mid-season (like petunias), and late-season (like zinnia). This creates a "color wave" where one variety fades just as another peaks. Pro tip: Use a color wheel to choose complementary hues—purples next to yellows, for example—that will pop against each other all season long.
Soil Prep Secrets: For Step 2, don't just add compost—think about texture too. If your soil is clay-heavy, mix in 1 part perlite to every 3 parts soil to improve drainage. For sandy soil, add 1 part coconut coir to help retain moisture. I've found that annuals in containers especially benefit from this mix—it prevents both underwatering and root rot. And here's a secret: Add a handful of egg shells (crushed) to your planting hole for calcium, which strengthens cell walls and makes plants more drought-resistant.
Spacing and Airflow: When you're planting in Step 3, resist the urge to squeeze plants too close together. Proper spacing isn't just about looks—it's about airflow. I've seen beginners plant sweet alyssum only 4 inches apart instead of the recommended 6 inches, and within weeks, powdery mildew took over. Use a small stick or ruler to mark planting spots before digging holes—this ensures consistent spacing. For containers, leave 1 inch of space between plants and the pot edge to prevent root competition.
Watering Wisdom: Step 4's watering instructions are spot-on, but here's how to make them even better. Instead of just checking soil moisture with your finger, use the "squeeze test": Grab a handful of soil about 1 inch deep. If it crumbles easily, it needs water. If it stays in a ball, wait another day. For containers, I've found that watering from the bottom (by placing the pot in a tray of water for 10 minutes) encourages deeper root growth. And always water at the base of plants—wetting leaves can lead to fungal issues, especially with begonias or impatiens.
Pro Tips for Flower Bed Annuals
- Creating a vibrant flower bed that thrives all season takes more than just planting pretty flowers—it’s about smart p...
- Season-Long Color Strategy: In Step 1, when you're planning your layout, think beyond just height—consider bloom time...
- Soil Prep Secrets: For Step 2, don't just add compost—think about texture too. If your soil is clay-heavy, mix in 1 p...
Frequently asked questions
Got questions about keeping your flower bed annuals vibrant and thriving? You’re not alone! Here are some of the most common queries—and their easy, actionable answers to help you garden with confidence.
What are the easiest annuals for beginners?
Start with low-maintenance picks like marigolds, pansies, or zinnia. These tolerate a little neglect, bloom prolifically, and deter pests—perfect for first-timers! For shade lovers, try impatiens or begonias. Pro tip: Choose disease-resistant varieties to skip the hassle of constant care.
When is the best time to plant annuals?
Timing depends on your climate! In most regions, plant after the last frost (usually late spring) for warm-season annuals like petunias or geraniums. Cool-season stars (e.g., pansies) can go in early spring or fall. Check your local frost dates—planting too early can shock tender roots.
How do I keep annuals blooming all season?
Deadhead spent blooms regularly (snip off faded flowers) to encourage new growth. Feed with a balanced fertilizer every 4–6 weeks, and water at the base (not leaves) to avoid fungal issues. Rotate varieties—mix short- and long-season bloomers (e.g., cosmos + snapdragons) for continuous color.
What’s eating my annuals? Pests or diseases?
Common culprits:
- Aphids/slugs: Handpick or use neem oil.
- Powdery mildew: Space plants for airflow; spray with baking soda solution (1 tsp per quart of water).
- Wilting leaves: Check soil moisture—overwatering or root rot may be the issue.
Can I reuse last year’s soil for annuals?
Not ideal! Annuals deplete nutrients quickly, and old soil may harbor diseases or pests. Refresh with 2–3 inches of compost or a balanced fertilizer before replanting. For containers, swap out half the soil yearly. Tip: Test soil pH (aim for 6.0–7.0) to match your annuals’ needs.
Wrapping up and next steps
Transforming your flower bed with annuals From sun-loving marigolds to shade-friendly impatiens, these easy-care plants deliver year-round beauty with minimal fuss. Whether you’re a seasoned gardener or just starting, the right annuals can turn any patch of soil into a stunning, low-maintenance masterpiece.
Ready to take the next step? Grab your gardening gloves, pick your favorite blooms, and start planting—your garden will thank you with a season of show-stopping color! 🌸