Landscaping
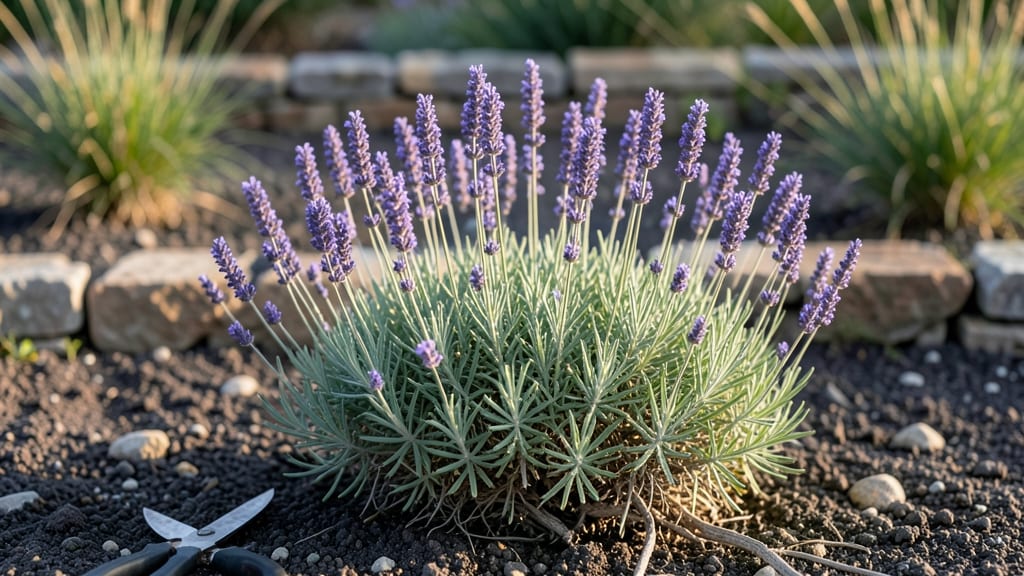
A flower bed against a fence isn’t just a border—it’s your first line of defense against nosy neighbors and a magnet for bees and butterflies. I designed mine last spring after years of peeking through slats and wondering why my yard felt more like an open-air office than a retreat.
The key? Layering plants by height, color, and bloom time so it never looks bare or boring.
Start with soil prep—amend that fence-side dirt with compost to give roots a fighting chance. Then choose a tall backbone (like lavender or Russian sage) to block views, mid-height fillers (salvia or coneflowers) for texture, and low-spreading annuals (like sweet alyssum) to soften the edges.
My pollinator mix costs less than $50 and requires zero synthetic pesticides—just mulch and water.
By midsummer, you’ll have a lush, buzzing curtain that screens the fence while feeding wildlife. The lavender alone keeps cats out, the coneflowers attract monarchs, and the alyssum flowers all season.
Maintenance is easy: trim once in early spring, deadhead spent blooms, and top off the mulch. It’s the kind of project that looks harder than it is—until you see it thrive.
Works for any fence style—wood, chain-link, or vinyl—just adjust plant spacing for mature size. Cottage gardens? Go wild with roses and peonies. Modern? Stick to sleek grasses and boxwood. Either way, you’ll get privacy and purpose. Ready to sketch your design?
📚 In This Guide
- What you need
- Instructions
- Tips and common mistakes
- Wrapping up and next steps
What you need
- ● Soil & Amendments: Topsoil (1–2 cubic yards, depending on bed size)
- ● Compost or well-rotted manure (1–2 bags, 4–6 cubic feet each)
- ● Organic mulch (cedar or hardwood, 2–3 bags, 2 cubic feet each)
- ● Plants (Pollinator-Friendly & Privacy-Focused): Perennials (e.g., coneflowers, black-eyed Susans, lavender) – 5–10 plants
- ● Shrubs (e.g., butterfly bush, hydrangeas, abelia) – 3–5 plants
- ● Climbing vines (e.g., clematis, morning glories, or honeysuckle) – 2–4 plants
- ● Grasses or ornamental grasses (e.g., fountain grass, switchgrass) – 3–5 plants
- ● Edging & Barrier: Landscape fabric (1 roll, 3–4 feet wide)
- ● Galvanized metal or plastic edging (10–20 feet, depending on bed length)
- ● Garden shovel or spade
- ● Garden trowel (for transplanting)
- ● Wheelbarrow or garden cart
- ● Measuring tape
- ● Gloves (heavy-duty for digging)
- ● Watering hose with adjustable nozzle
- ○ Optional: String line & stakes (for marking layout), kneeling pad, pruners
- ● Clear the area of weeds, debris, or old plants.
- ● Check fence stability—ensure it’s secure and won’t be damaged by roots.
- ● Plan your design: Sketch a rough layout (tall plants at the back, shorter ones in front).
- ● Pro Tip: 💡 If your fence is wooden, add a root barrier (landscape fabric or plastic sheeting) to protect it from invasive roots.
Step-by-Step guide to creating a pollinator-friendly flower bed against a fence
This design brings beauty, privacy, and life to your yard while supporting bees and butterflies.
Plan Your Flower Bed Layout and Dimensions
Measure your fence length and decide on a depth of 18-24 inches—this gives enough space for root systems while keeping maintenance manageable. Sketch a simple design on paper: I like to use 3-foot sections divided into planting zones to alternate heights and bloom times. For example, place taller plants like black-eyed Susans at the back near the fence, with medium-height coneflowers in the middle, and low-growing lavender or creeping thyme at the front.
Check for underground utilities or uneven ground before digging. If your fence is on a slope, create contour lines with landscape fabric to prevent erosion while planting. Mark your layout with stakes and string to visualize the bed before breaking ground—this prevents costly mistakes once you start digging.
Prepare the Soil and Install Drainage
Remove any grass or weeds from the area, digging down 6-8 inches to loosen the soil. If your soil is heavy clay or sandy, mix in 3 inches of compost and 1 inch of perlite to improve drainage and fertility. For pollinators, avoid synthetic fertilizers—they attract pests and deter beneficial insects. Instead, add a slow-release organic fertilizer like fish emulsion or bone meal at planting time.
Install a perforated drainage pipe along the fence line if your yard has poor drainage or if the fence is on a low spot. Cover the pipe with landscape fabric before adding soil to prevent clogging. This step is critical in areas prone to standing water, as soggy roots invite fungal diseases that can kill your plants.
Plant for Season-Long Color and Pollinator Support
Start by planting perennial flowers that bloom in succession, ensuring color from early spring through fall. For example, bee balm (for summer) paired with columbine (spring) and goldenrod (fall) creates a continuous food source for pollinators. Space plants according to their mature size—3-6 inches apart for small flowers like salvia and 12-18 inches apart for larger plants like daylilies. Group plants with similar water needs together to simplify care.
Add native plants to your design if possible—they thrive with minimal care and are the best food source for local pollinators. For instance, purple coneflower and milkweed are pollinator magnets that require almost no maintenance once established. Mulch with 2-3 inches of shredded bark to retain moisture and suppress weeds, but leave a 2-inch gap around stems to prevent rot.
Water and Mulch for Long-Term Success
Water deeply once a week for the first month, soaking the soil to 12 inches deep to encourage deep root growth. After establishment, most perennials only need 1 inch of water per week, either from rainfall or irrigation. I like to use a soaker hose along the back of the bed to deliver water slowly without disturbing the soil. Water in the early morning to reduce evaporation and fungal diseases.
Reapply mulch annually in early spring to maintain the 2-3 inch layer. This helps regulate soil temperature, retains moisture, and prevents weeds from competing with your flowers. Avoid piling mulch directly against plant stems—keep it 2 inches away to prevent moisture buildup and rot. Over time, the mulch will break down and enrich the soil naturally.
Maintain and Enjoy Your Privacy-Preserving Pollinator Paradise
Deadhead spent blooms regularly to encourage continuous flowering and prevent self-seeding where you don’t want it. For example, pinch back black-eyed Susans after they bloom to redirect energy into next year’s growth. Divide overcrowded perennials like daylilies every 3-4 years in early spring to keep them healthy and vigorous. This simple step rejuvenates plants and prevents disease.
Monitor for pests like aphids or spider mites, which can stress plants and deter pollinators. If you spot an infestation, spray plants with neem oil or a soapy water solution in the evening to avoid harming bees. A healthy, thriving flower bed naturally repels most pests—focus on strong soil and proper spacing to minimize issues. Sit back and enjoy the privacy, beauty, and hum of pollinators visiting your garden!
Tips & tricks for perfect pollinator-friendly flower beds
A few simple strategies can transform your fence-side flower bed from ordinary to extraordinary while keeping pollinators buzzing with joy.
Layering for Privacy and Pollinators: The 18-24 inch depth recommendation isn't just about aesthetics—it creates the perfect vertical privacy screen while allowing sunlight to reach all plants. In Step 1, position your tallest plants like black-eyed Susans directly against the fence to block views immediately, then work your way forward with medium and low-growing varieties. This creates natural privacy while maximizing pollinator access to all flower levels.
Soil Preparation Secret: When amending your soil in Step 2, focus on creating a loose, crumbly texture that mimics natural forest floors where pollinators thrive. The 3 inches of compost and 1 inch of perlite should feel like fluffy cake batter when mixed—this allows roots to spread easily and water to drain properly. I always add a handful of worm castings (optional) for an extra nutrient boost that pollinators love.
Native Plant Power: While the instructions mention specific plants, I can't emphasize enough how valuable native varieties are for your local ecosystem. In Step 3, consider supplementing the suggested plants with native species like milkweed or purple coneflower—they'll attract more pollinators than non-native alternatives. These plants have co-evolved with local insects, making them the ultimate pollinator magnets.
Watering Wisdom: That initial once-weekly deep watering for the first month is crucial for establishing strong root systems. Use a moisture meter to check when the soil reaches 12 inches deep—this ensures you're not overwatering while helping roots grow downward. After establishment, most perennials only need that 1 inch per week, but always water in the early morning to prevent fungal issues that can deter pollinators.
Pro Tips for Flower Bed Against Fence
- A few simple strategies can transform your fence-side flower bed from ordinary to extraordinary while keeping pollina...
- Layering for Privacy and Pollinators: The 18-24 inch depth recommendation isn't just about aesthetics—it creates the ...
- Soil Preparation Secret: When amending your soil in Step 2, focus on creating a loose, crumbly texture that mimics na...
Frequently asked questions
What’s the best spacing between my fence and flower bed?
Leave 12–18 inches between the fence and plants to allow airflow and easy maintenance. For taller plants (like shrubs or perennials), aim for 2–3 feet to prevent overcrowding and fungal issues. Smaller annuals or ground covers can thrive closer, but avoid touching the fence to deter pests.
When is the ideal time to plant a fence-side flower bed?
Plant in early spring or fall for the best results—soil is warm enough for roots to establish but not scorched by summer heat. If you’re in a mild climate, late winter works too. Avoid planting in peak summer unless you’re using drought-tolerant species (like lavender or succulents) and watering deeply.
How do I keep weeds from taking over my flower bed near the fence?
Use a landscape fabric barrier under mulch (but leave gaps for plant roots) or opt for dense ground covers like creeping thyme or clover. Weed regularly with a hoe or vinegar spray (for stubborn spots), and mulch heavily (3–4 inches) to smother weeds naturally. A tall fence or lattice can also block weed seeds from drifting in.
Can I use a flower bed against a fence for privacy instead of a hedge?
Combine tall perennials (like coneflowers or black-eyed Susans) with fast-growing shrubs (e.g., butterfly bush or hydrangeas) for a lush, pollinator-friendly screen. Add vertical elements like trellises or arborvitae for extra height. Just ensure plants are well-spaced to avoid shading issues and allow sunlight to reach the base.
Will a fence-side flower bed attract pests like bees or rodents?
Mostly beneficial! Bees and butterflies are great for pollination—opt for native plants (e.g., milkweed, bee balm) to support local ecosystems. To deter rodents, avoid dense mulch piles (they love nesting there) and keep the area clean and dry. If squirrels or rabbits are a problem, add chicken wire or thorny plants (like roses) as a deterrent.
Wrapping up and next steps
Creating a flower bed against a fence isn’t just about adding beauty to your space—it’s about crafting a thriving, private haven that supports pollinators and boosts your curb appeal.
With the right plants, thoughtful design, and a few smart tricks, you’ve got everything you need to transform that plain fence into a lush, buzzing paradise. 🌸
Now that you’re armed with ideas and answers, roll up your sleeves and get planting! Start small if you’re unsure, or go big with bold colors and textures. Every bloom makes a difference—both for your garden and the pollinators that visit. Happy gardening! 🌿
- Next step: Sketch your design, gather supplies, and pick your first plants—then watch your fence become the talk of the neighborhood!